How To Paint Your Fireplace: Step-By-Step Guide

There’s nothing better than finding your dream home and discovering it comes with a beautiful brick fireplace. You can already imagine how the heat of a warm, cozy fire will feel when you’re relaxing by the hearth on a chilly day.
However, most of the time, your fireplace will need a little work to get it looking just the way you want it. In this article, we’re going to go through everything you’ll need to know to paint a brick fireplace.
Fireplace Painting Supplies You’ll Need
Before you start the brick fireplace painting process, you need to make sure you have all the necessary materials and tools with you. The last thing you want is to have to run to the store to get something you may have forgotten.
We’ve compiled a comprehensive list of all the materials and tools you’ll need to give your fireplace the professional paint look you’re after. Before you start on painting your brick fireplace make sure you have the following.
Tools
- Stiff wire brush
- Vacuum cleaner
- Large sponge
- Smaller-sized sponge
- Cloth or old towel
- Paintbrush
- Paint roller
- Paint roller extension pole
- Old sheets or drop cloths big enough for surrounding areas
- Safety goggles
- Pair of gloves
Materials
- High-Temperature Stove & Fireplace Color Paint
- Brick and Stone Fireplace Cleaner
- Fireplace Brick Base Coat
- Painter’s tape or masking tape
If you’re not looking to spend ages in a shop, one of the easiest things to do is to get hold of Brick Anew’s brick fireplace paint kits. These come with all the brushes and paint materials you need to transform your fireplace into a stunning room feature.
One of the seemingly easiest things to do to update your brick fireplace is to get a standard wall paint that matches the decor of the rest of your room.
However, with Brick Anew’s paint kits and comprehensive step-by-step guide, your fireplace will look like it was done by professionals who usually charge thousands for something similar.
Now you have all the tools and materials in place, it’s time for us to show you how to paint a brick fireplace.
Step 1: Protect the rest of the room
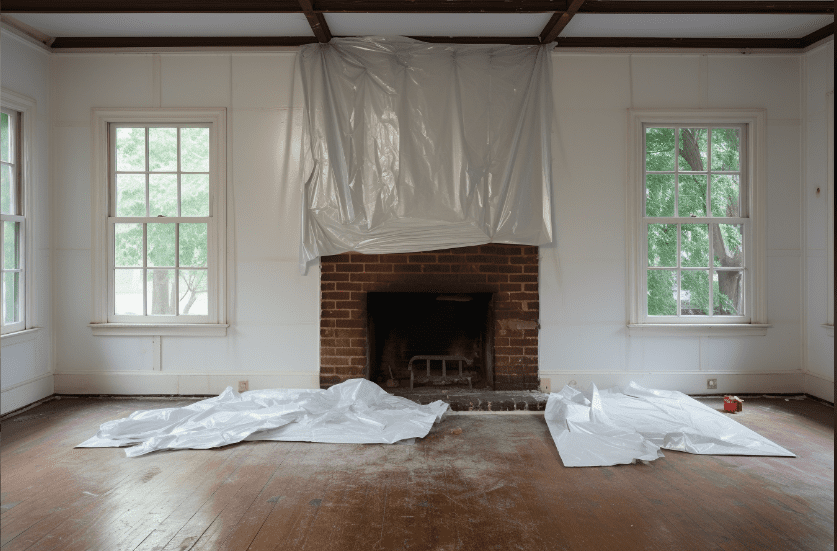
Using your drop cloth or an old sheet, make sure the floors beneath the fireplace are protected. Cleaning your fireplace can be a messy affair and you don’t want any damage done to the floors, especially if you have carpeting in your home.
If you have any furniture that’s near the fireplace, you should also ensure that they are protected. The best thing to do is to remove them from the room entirely. However, if this is not an option, use more drop cloths and sheets to cover the furniture up.
Finally, you also want to make sure that the paintwork stays within the parameters you want. To make sure paint does not get onto the surrounding walls, use painter’s tape to clearly demarcate where the paint job should end. This will ensure there is a clean, straight line between the fireplace and the walls to the side of it.

Step 2: Brush down your brick fireplace
Before you get going on painting your brick fireplace, you need to make sure all the debris is out of the way. Excess dirt on the bricks will get caught in the paint and lead to uneven paintwork.
To start the cleaning process, use a stiff wire brush to remove any of the larger bits of dirt like cobwebs or bits of soot. This will help to make sure you work on a smooth surface and that your paintwork turns out even.
After you have used the wire brush, you can go over the brickwork again with a vacuum cleaner for any stubborn stragglers. Make sure you put in some extra elbow grease when cleaning out the crevices in between the bricks as this is usually where most of the dirt collects.
Step 3: Wash the brick
After removing all the debris with your wire brush, make sure you use a good cleaner for the finer bits of debris. Using a fireplace cleaner will prevent any discoloration in the paintwork caused by dirt. Simply spray the solution onto the bricks and use a cloth, an old towel, or a large sponge to scrub down the brick. After you have scrubbed the bricks enough, use fresh water to rinse off the fireplace cleaner.
After you clean your fireplace, the bricks will likely be slightly damp. When you’ve finished this part of the process, make sure you give your fireplace between one and two hours to dry. If you paint on wet brick it may leave streak marks which you don’t want.
Step 4: Apply the base coat or primer to your fireplace
Once your fireplace has dried sufficiently, start your painting process by using a fireplace brick base coat. The priming effect of the base coat will ensure that the color of your fireplace pops and also provides a smooth surface for the final paintwork.
Finally, adding a primer will prevent any of those stubborn soot stains from shining through the final coat.
Use a paint roller to apply the primer to the larger surfaces of the fireplace. If you have a ceiling-to-floor brick fireplace, use the paint roller extension to reach higher sections. To make sure your fireplace is fully coated, use a paintbrush to get into the corners and the crevices of the brickwork.
Once you have applied enough coats of the primer all over the fireplace, leave this to dry overnight.

Step 5: Paint your brick fireplace
Once the primer is dried and you are happy with the number of primer coats, you can start applying the paint to your brick fireplace. Brick Anew’s fireplace paint kits come in an array of colors and a complete guide on how to use the products correctly to ensure you get a professional paint look.
The tools in the kit are paint brushes and roller brushes for all areas of your brick fireplace. The easy-to-follow DVD program will show you all the right steps to take when painting the brick fireplace.
Once you have finished painting, leave the paintwork to dry overnight and assess whether or not you need another coat of paint. If you are happy with the paintwork and don’t have a mantelpiece, you can pack away your tools and materials.

Step 6: Painting the mantel
It’s common practice for households to use the mantelpiece of their fireplaces to keep items like books, ornaments, photographs, and paintings on them. You, therefore, also want to make sure that this section of the fireplace is well-designed to complement your brand-new-looking fireplace.
Always use paint that will complement the color scheme of the fireplace so that they do not clash. The safest thing to do is to use the same color on the mantel as the rest of the fireplace, although using different complementary colors here will add a unique flair.
After painting the mantel, make sure you allow it to dry and check whether or not it needs another coat afterward. If you’re happy with the overall look of your painted brick fireplace, pack away all your paint and tools and enjoy your new space!

FAQs
What kind of paint do you use on a brick fireplace?
When painting your brick fireplace, you have to make sure you use paint that is appropriate for interior brick surfaces. Using the right paint will prevent unwanted occurrences like flaking or chipping. Make sure you speak to a professional about the right type of paint to use for your brick fireplace and ensure you get the right products.
Is painting a brick fireplace a good idea?
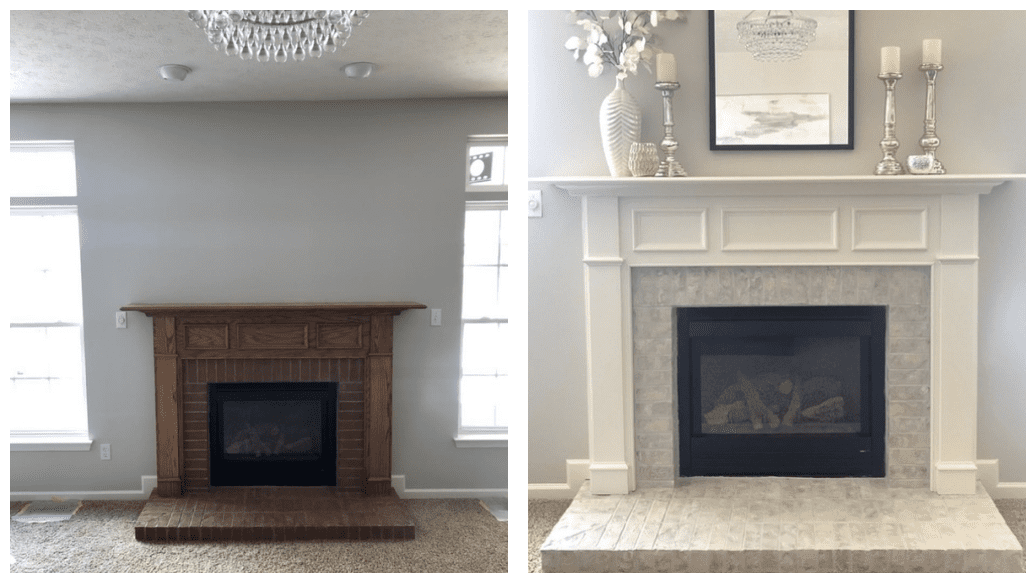
Painting a brick fireplace is a great idea if you want to upgrade your home’s interior design. It’s a great way to give the room a fresh, new look, and painting your fireplace is a great do-it-yourself project for you and the family to help out with. If you have all the right safety and protective equipment, painting your brick fireplace is a relatively easy undertaking.
What is the best color to paint a brick fireplace?
Most people think that simply painting over your bricks in any color you want will give them the desired effect. However, there are specific paints and painting techniques that work a lot better than others.
Brick Anew’s paint kits give you the same look you would get from a professional without having to fork out thousands for them to do it for you. They’re easy to use and come with a step-by-step guide on how to use them to get the most out of the kit.


